Changing Java Versions
Minecraft: Java Edition is written in a programming language called Java, which requires a program called the Java Runtime Environment (JRE) to run. The Minecraft launcher automatically installs and manages the JREs required to run the game. However, sometimes it is necessary to use a different JRE to run a modified version of the game, or fix issues that you may be experiencing.
Part A: Install Java
First, you will need to install the correct version of Java for the version of the game you want to play.
Follow the instructions here to install the version of Java you need.
Part B: Set Minecraft to use a Custom Java Runtime
Step 1
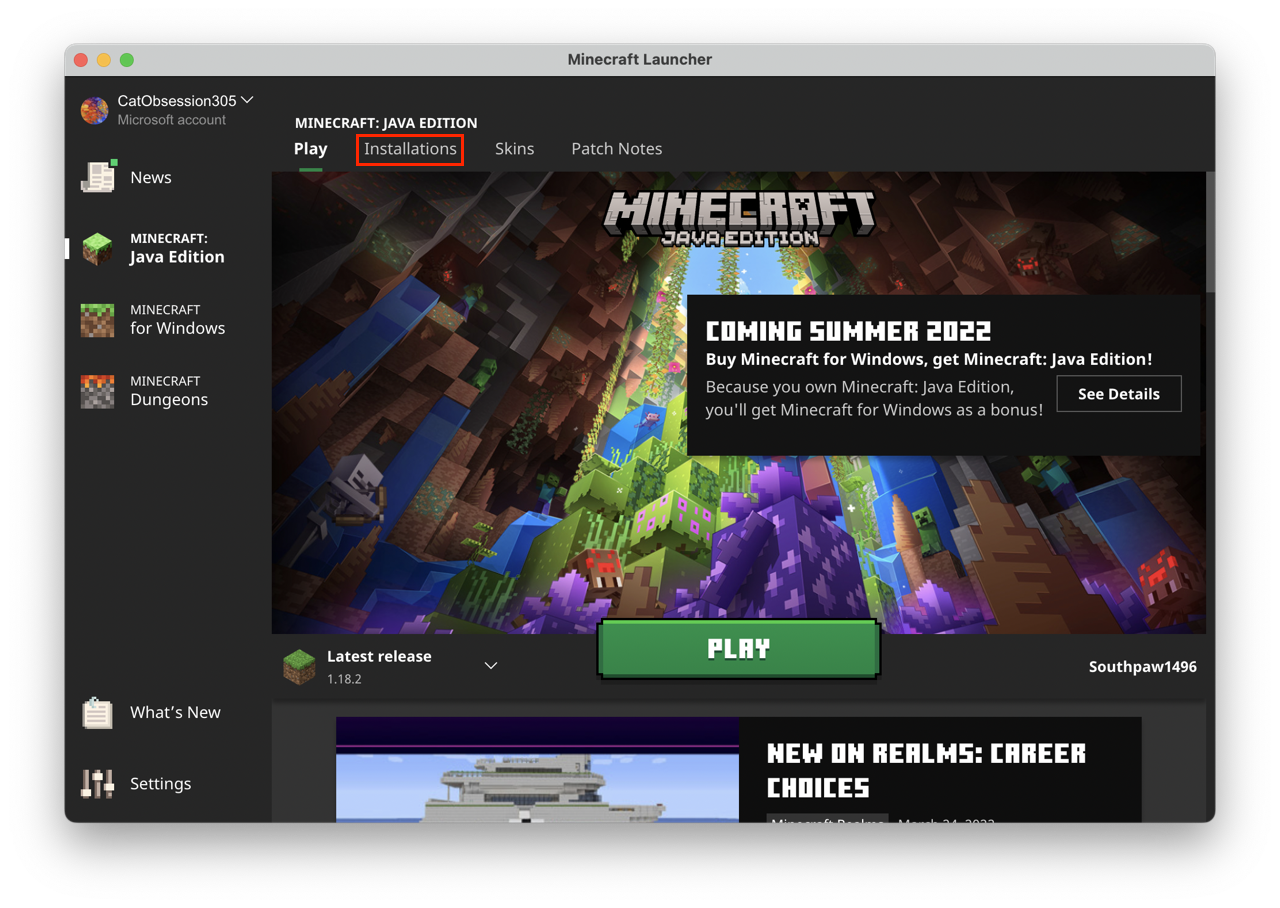
Open the launcher and click “Installations”.
Step 2
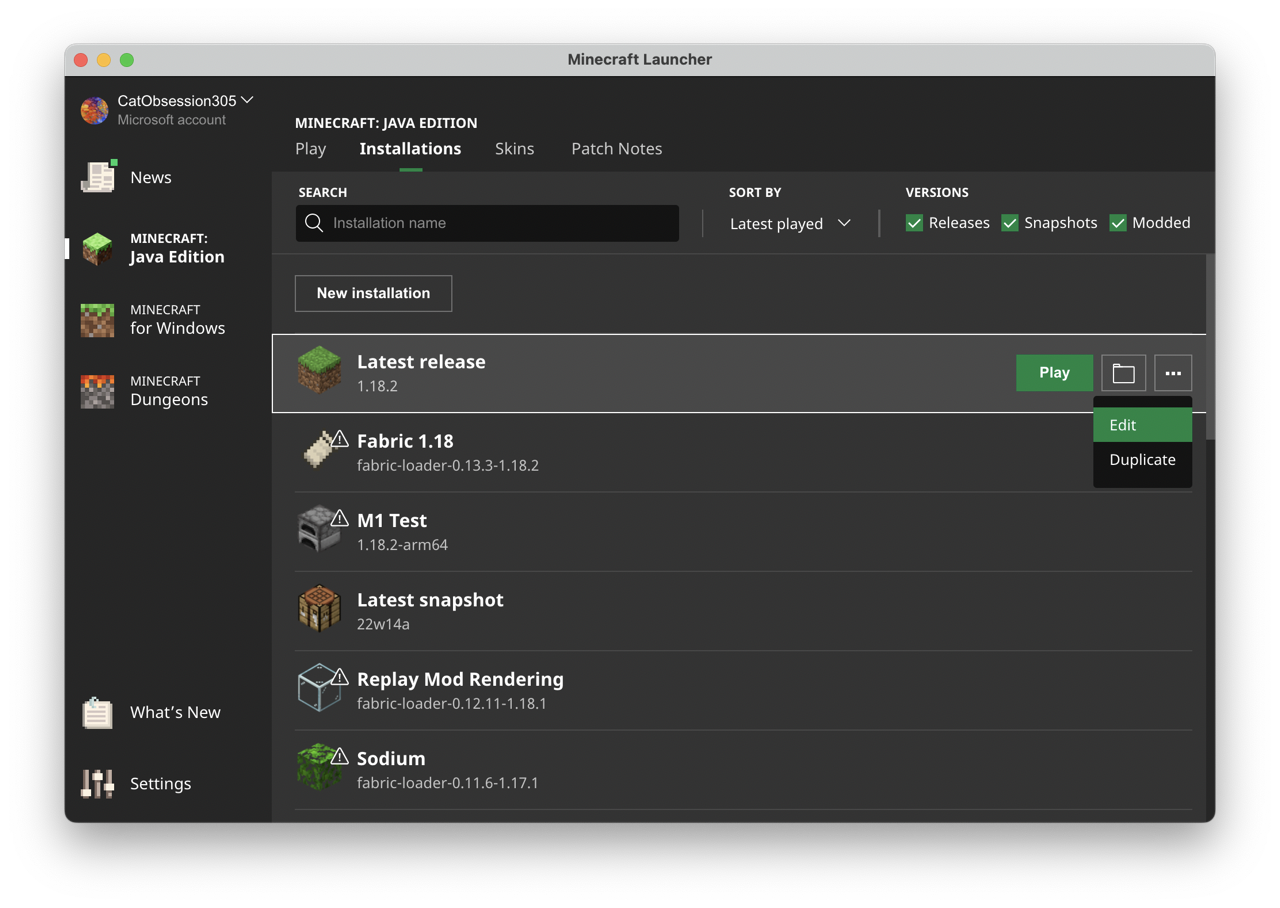
Find the profile you want to change, click the three dots (…) and click “Edit”.
Step 3
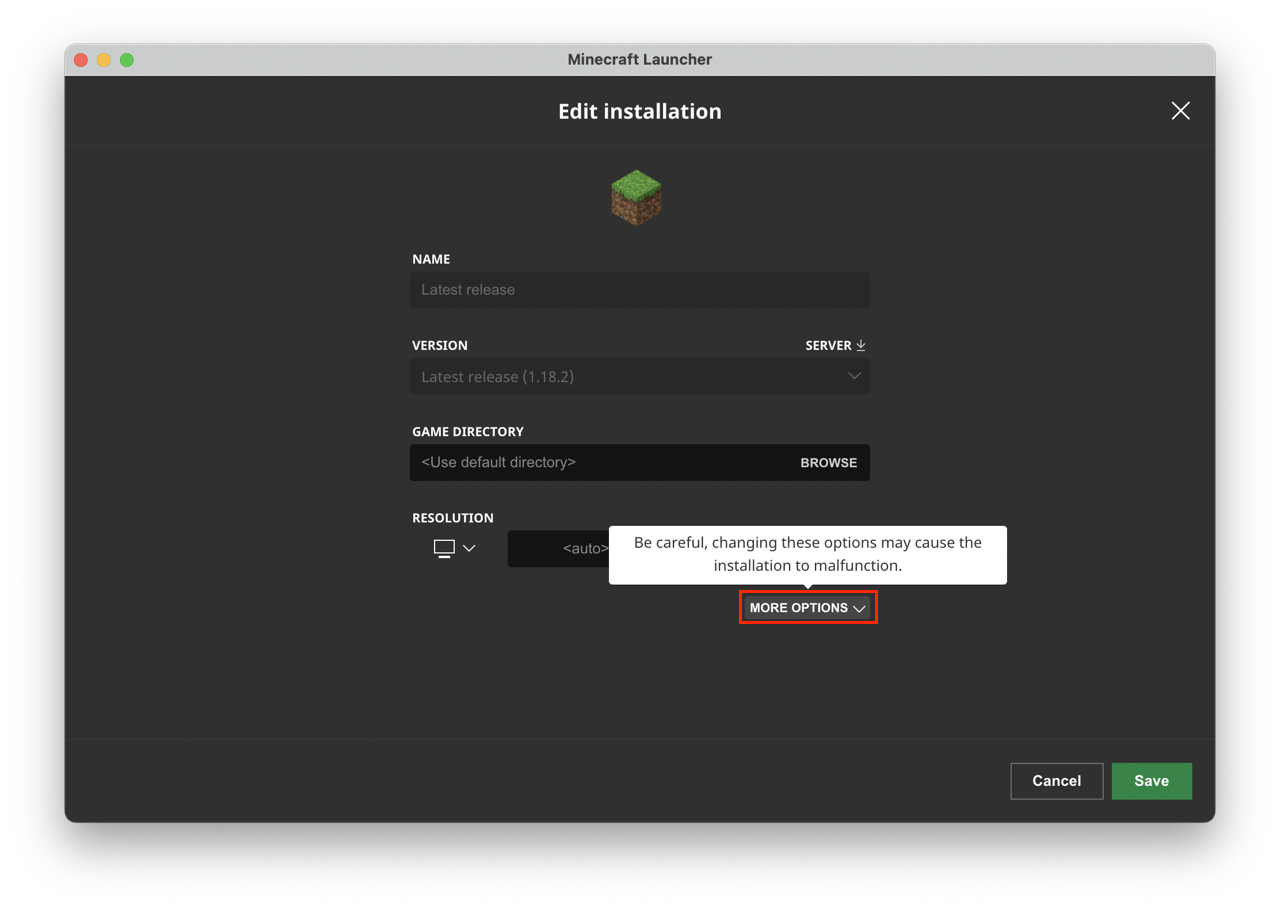
Click “More Options” at the bottom of the page.
Step 4
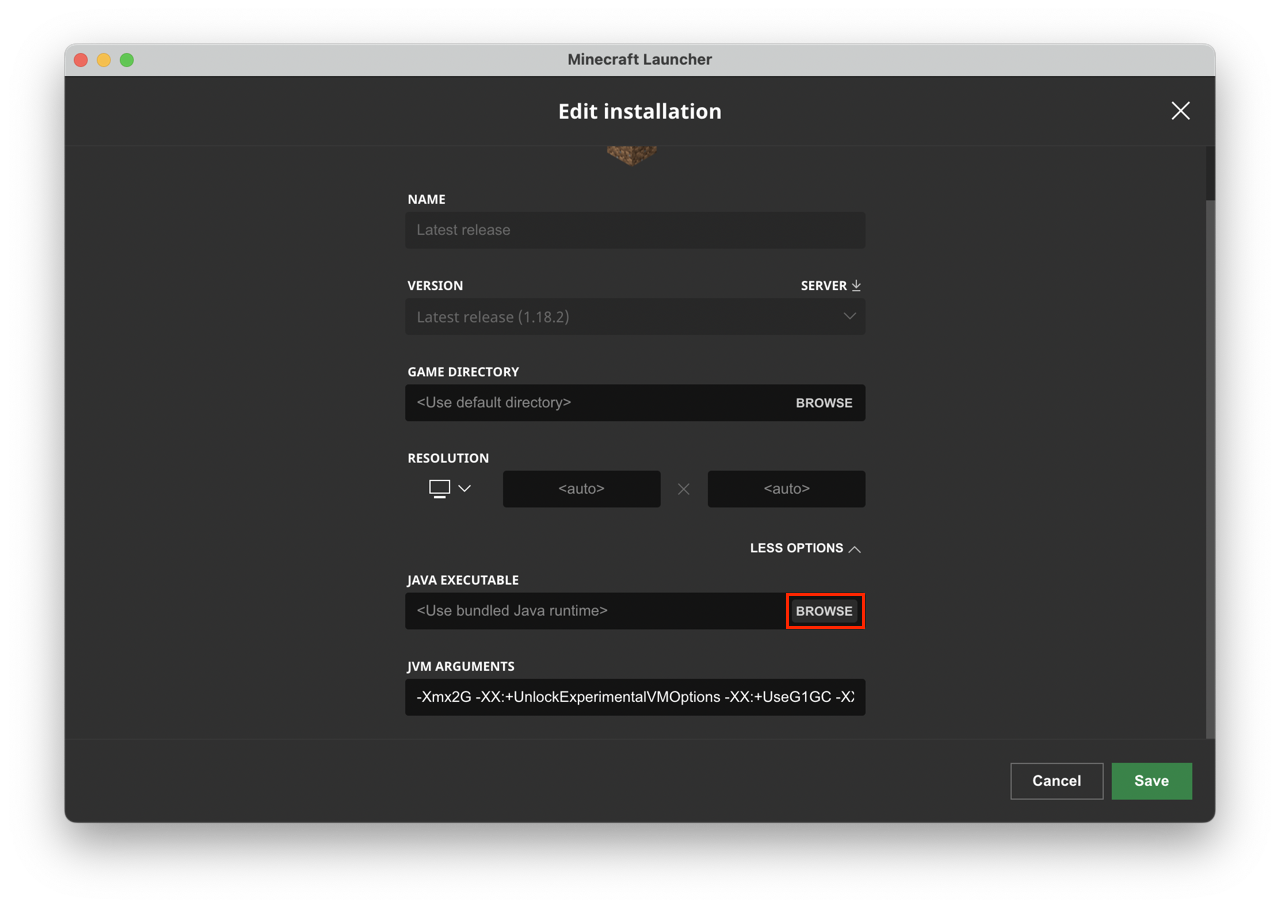
Click “Browse” next to the “Java Executable” field.
Step 5
Windows
In the File Explorer window that appears, click navigate to one of the following places:
- If you installed Temurin OpenJDK from Adoptium, navigate to
C:\Program Files\Eclipse Adoptium. - If you installed Oracle Java, navigate to
C:\Program Files\Java.
If you installed something different, you’ll need to look up its installation and navigate there.
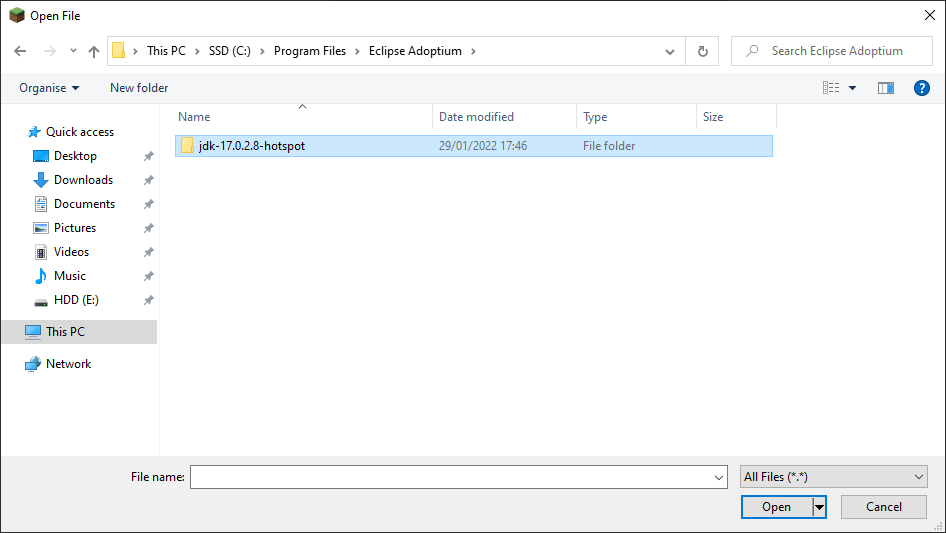
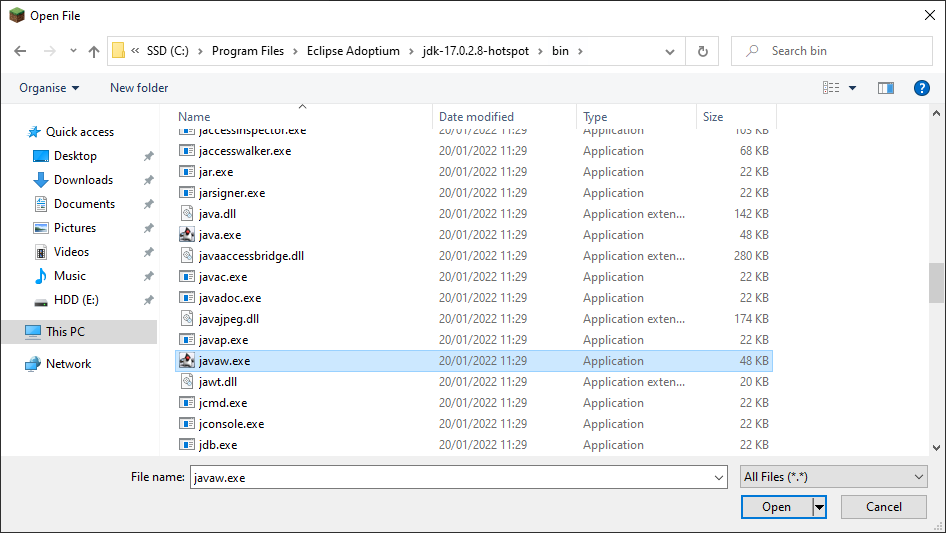
Double-click the folder of the Java version you want, and then navigate to hotspot -> bin and find a file named javaw.exe and click on it. Then, click “Open”.
macOS
Press Shft-Cmd-G to open the Go menu, then type (or paste) /Library/Java/JavaVirtualMachines/ and press enter.
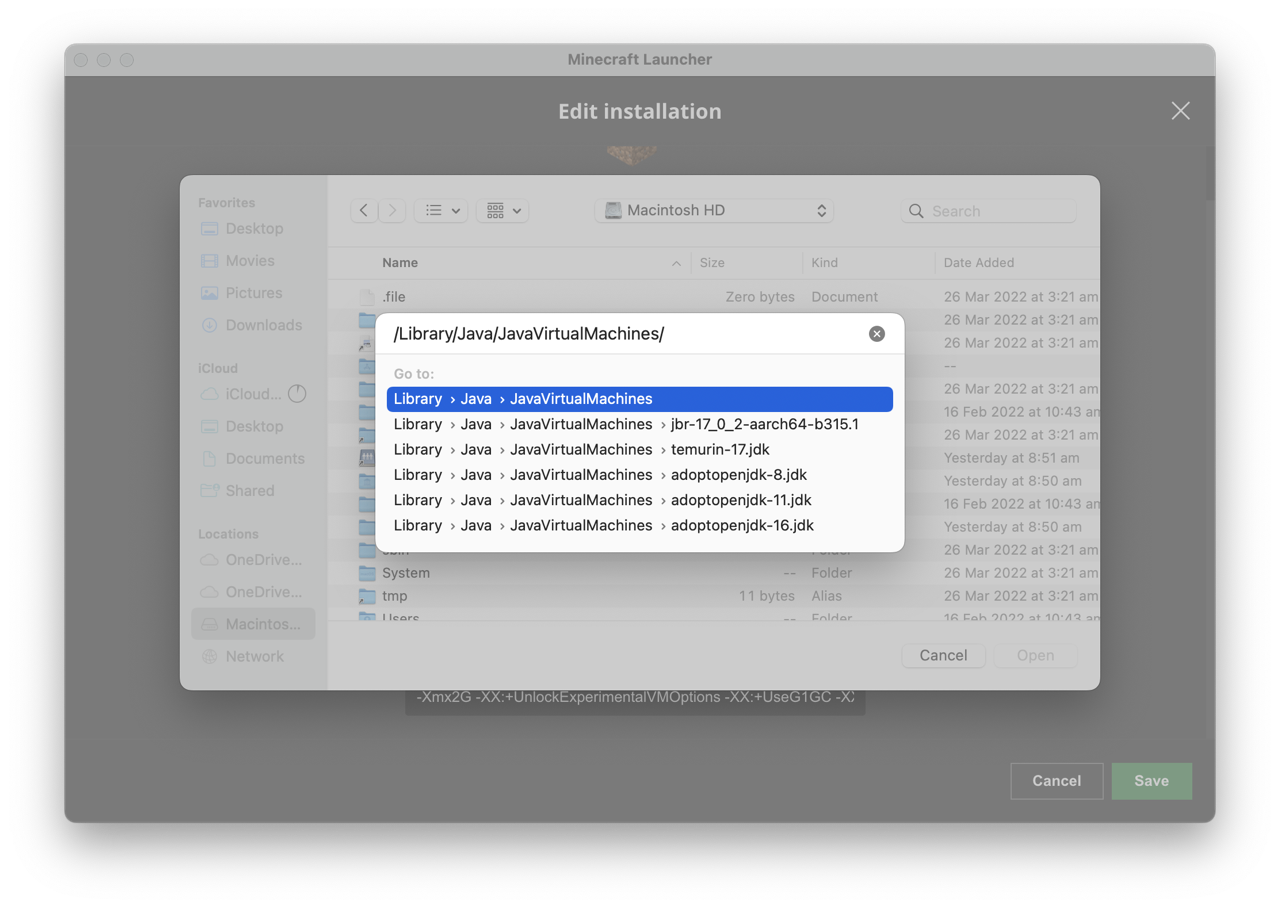
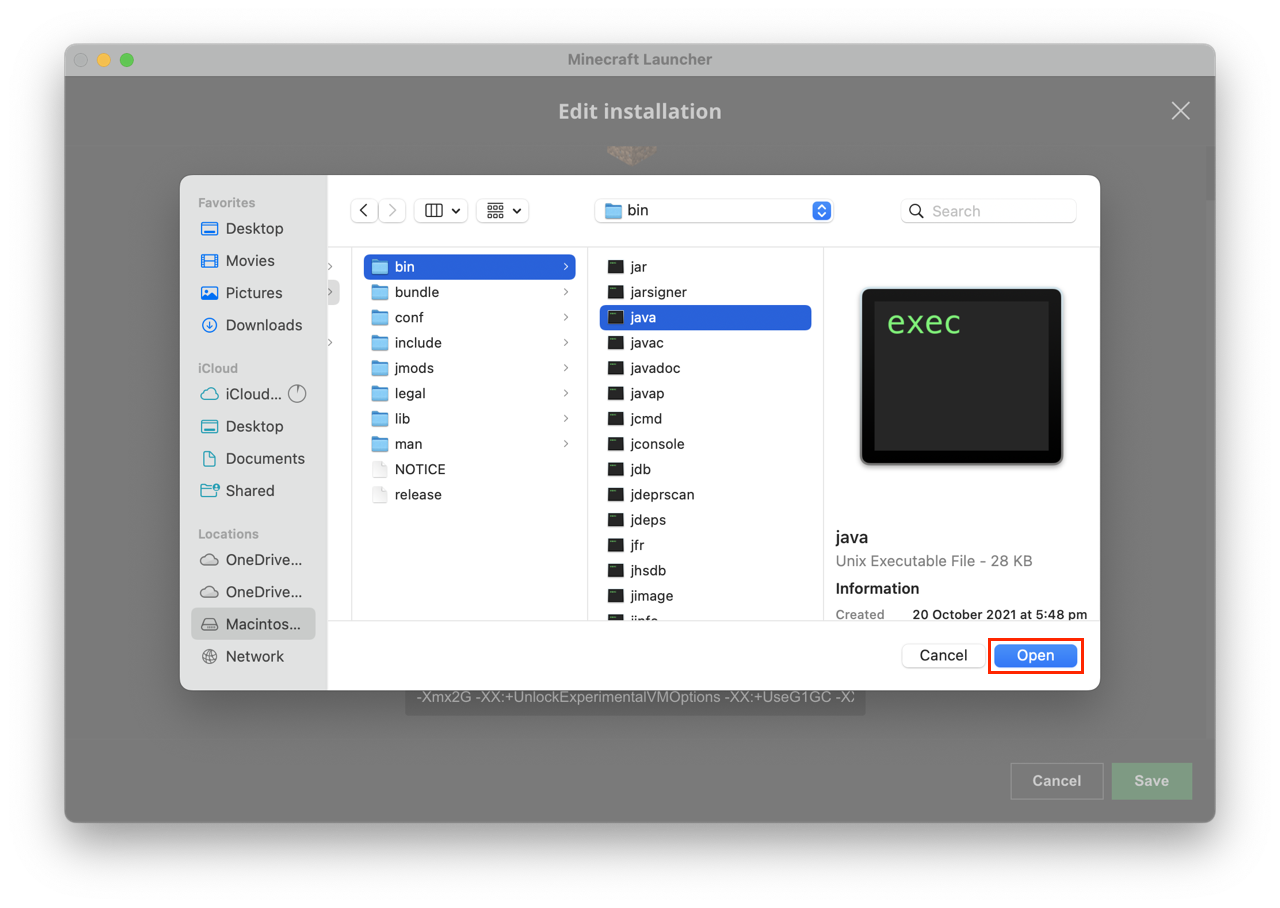
Double-click the folder that matches the version of Java you want (most likely temurin-17.jdk), then go to Contents -> Home -> bin and find a file named java and click on it. Then, click “Open”.
Linux
In most Linux distributions, you’ll need to navigate to /usr/lib/jvm/, double-click the folder of the Java version you wish to use, then navigate to bin and click on java. Then click “Open”.
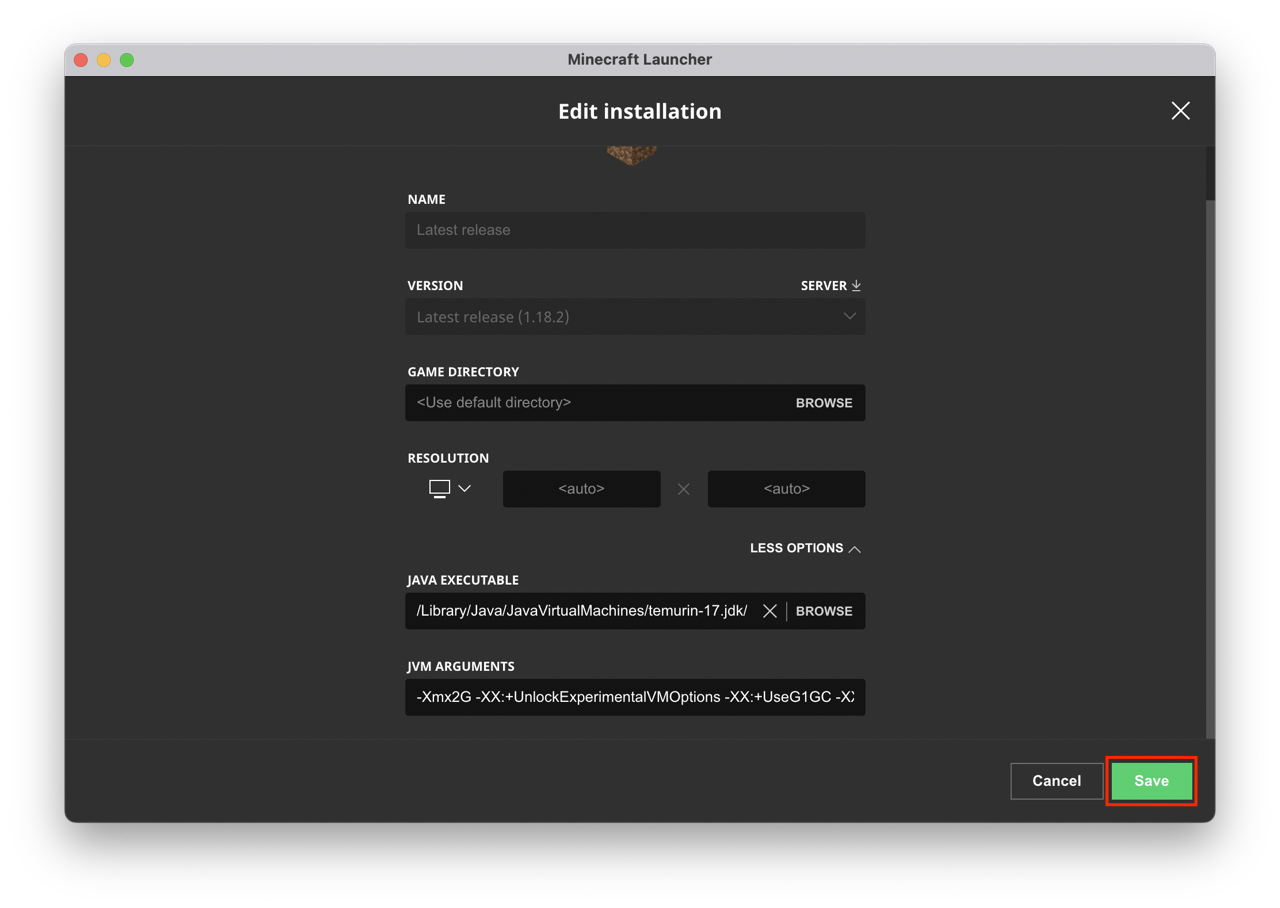
Step 6
Click “Save”, and then try to run the installation you just modified. If it works, you’re done!
Notes
If this works, keep in mind you will need to update the version number in the Java Executable setting whenever you update Java. You will also need to apply this setting to any launcher profile you make.