Installing Intel drivers with Device manager
It may be needed on occasion that you install Intel graphics drivers via Device manager. This page describes instructions that can be taken to do so, although it is recommended that you use Windows Update or the Intel driver update utility to find the latest drivers for your computer unless a conflict occurs requiring you to do so manually.
Applications
- On OEM devices, an OEM may sometimes use custom drivers that block the installation of generic Intel graphics drivers. Installing with Device manager avoids this issue, although it generally is recommended to use OEM drivers on these devices whenever possible.
- On Windows 10, the drivers installed by Windows Update on behalf of Intel may not be shipped with proper OpenGL support. In this case, you should check with your OEM (if applicable) or the Intel driver utility and obtain the drivers for your system. If this fails, you may need to manually install the drivers with Device manager.
- The Toshiba c660 comes shipped with AMD drivers that must be uninstalled and replaced with Intel chipset drivers.
Prerequisites
NOTE: This article assumes that you already have a driver that is in ZIP format and are looking to install it with Device manager. If you have not found a device driver to install, refer to this page and use the “manual” links to obtain a driver. If you were directed to this page by someone else, ask them for an appropriate driver or use one of the support resources to request one.
Installing
Removing your current graphics drivers
Although it is not required, it is recommended that you remove your current drivers before you manually install new ones. This is to avoid Windows’ versioning mechanics that dictate whether a driver can be installed or not based on which is the “newer” driver.
Right click the start button or use the keyboard shortcut Win + X to get a power menu. Select “Device manager” and look for the “Display Adapter” section. Expand the section and you should see an entry containing “Intel” in it, which should be your graphics chipset.
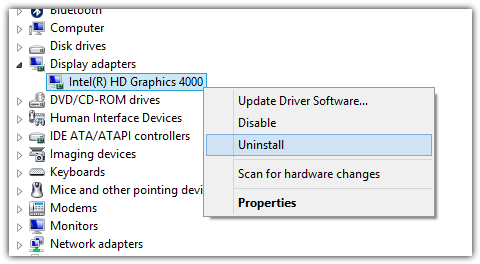
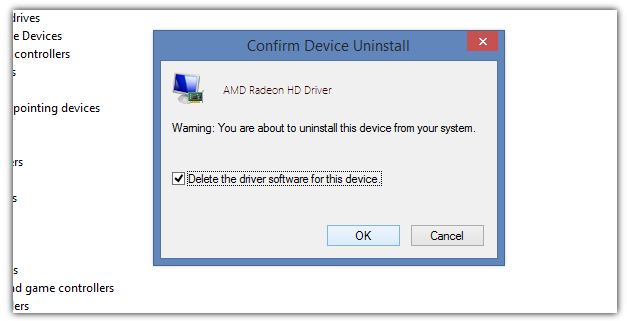
Close any other applications that may be depending on your graphics chipset. Then go back to Device manager and right click the new entry that appeared and choose “Uninstall,” this will uninstall the graphics driver currently in use. Ensure that the “Delete the driver software for this device” option is enabled.
Installing the new drivers
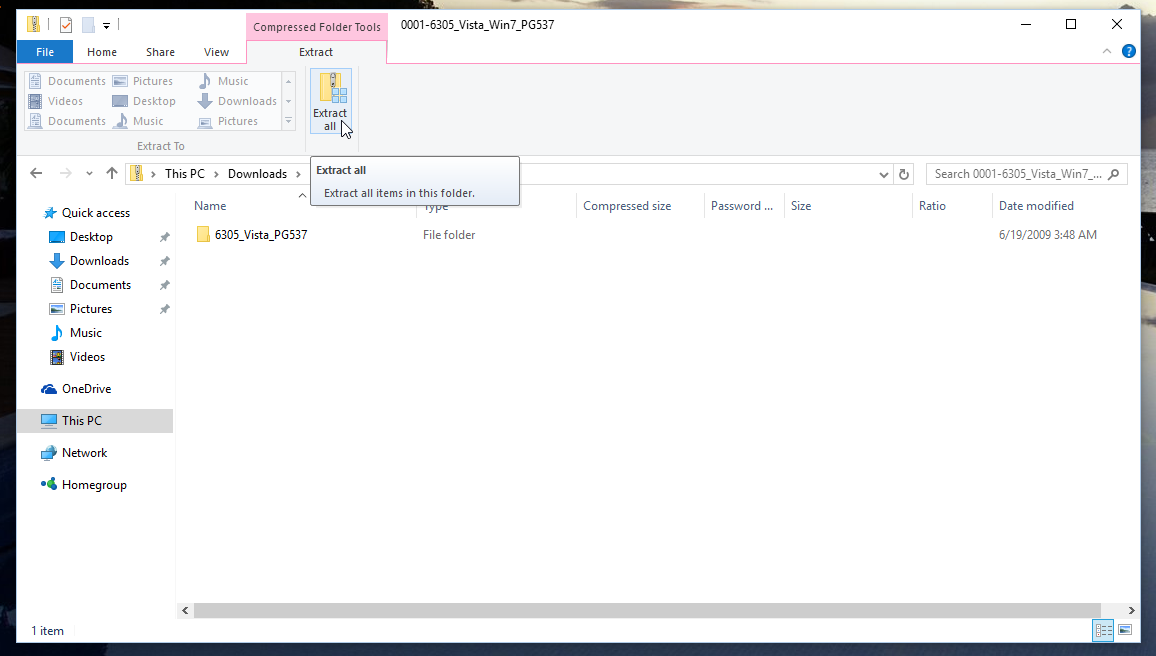
Open the Intel driver ZIP that you should have obtained and extract this to a folder.
Go back to Device manager and expand the “Intel” device that should be under the “Display Adapters” as before. Right click it and choose “Update Driver Software…” and then “Browse my computer for driver software.” You should get another menu, do not press “Browse” and instead press “Let me pick from a list of device drivers on my computer.” At the bottom right, select “Have Disk…” and then “Browse…” – go to the folder which you extracted the Intel driver .ZIP file to.
Open the location which you extracted the files to and browse to the “Graphics” folder. Select the file that says “Setup Information” next to its name. Then press “OK” and you should be taken to a prompt asking you to select which driver to install. Select the driver that matches the chipset model you are using. (If you’re not sure which one to use, use the first driver on the list which is usually generic.) Press “Next” and the driver should begin installing, if you get any warnings select “Yes”.
If the driver still does not install, your operating system may not be compatible with the driver and thus Windows will still refuse to load the driver. In this case you should run Windows Update to get whatever driver is currently available for your computer.