What is Java - How to install Java
The Java Runtime Environment (JRE) is software that allows for programs written in the Java programming language to run on your computer. “Minecraft Java Edition” is named as such because it is written in Java. Java comes in many shapes and forms, which may make it confusing exactly which version of it you should have installed, which is what this should hopefully explain.
We cannot use Oracle Java for modern versions of Java, since they have commercial usage restrictions which mean some users (particularly, those making money off of Minecraft) would have to pay to use it.
Fortunately, we can use OpenJDK, which is identical to Oracle Java but does not have the same restrictions. For this tutorial we will be using a version of OpenJDK built by Adoptium.
Quick links:
- Do I need Java? Which version do I need?
- Check if you have Java already
- Downloading and installing Java
- Appendix: Symptoms of incorrect Java version
Do I need Java? Which version do I need?
The Minecraft launcher includes the version(s) of Java required to run the game, and automatically keeps them up to date. This includes the Windows 7 and Windows 8.1 version of the launcher.
If you are using the official launcher, you normally do not have to manually install Java, but you may want to if you are trying to run a server, trying to fix an issue, or using it for Java applications other than Minecraft. If you are not are not sure if you are using the correct Minecraft launcher or are getting “This application requires a Java Runtime Environment” when launching Minecraft, then you can download the Minecraft Launcher from https://minecraft.net/download.
Note: Java versions 6 and 16 no longer receive security updates, and are therefore more risky to use. You should use any LTS version supported by Mojang if possible, as they will receive security updates for years to come.
The below compatibility chart was last updated 2024-09-08.
| Version of Minecraft | Recommended Java version | Minimum Java version |
|---|---|---|
| Future versions not listed | Latest you can find | (unknown) |
| 1.20.5 to Latest (inclusive) | Java 21 | 21 |
| 1.18 to 1.20.4 (inclusive) | Java 17 | 17 |
| 1.17 | Java 17 | 16 (use Java 17 if you can) |
| Some custom server software before 1.17 | 11 | |
| 1.12 to 1.16 (inclusive) | Java 8 | 8 |
| Classic to 1.11 (inclusive) | Java 8 | 6 (use Java 8 if you can) |
Verifying if Java is installed
You can check if a version of Java is already installed on your computer by following these instructions.
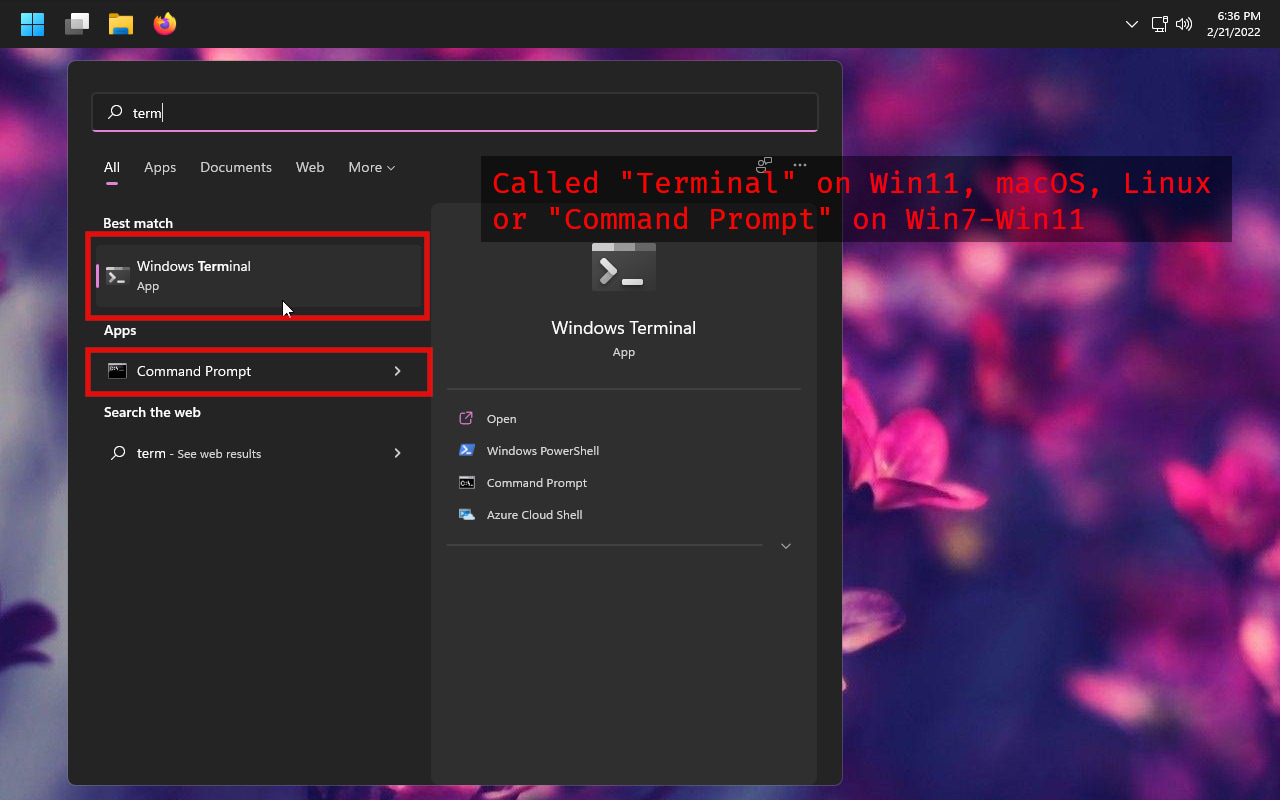
First, open up a terminal (Win11, macOS, Linux) or Command Prompt (Win10, Win8.1, Win7)
Next, type in java -version and press enter.
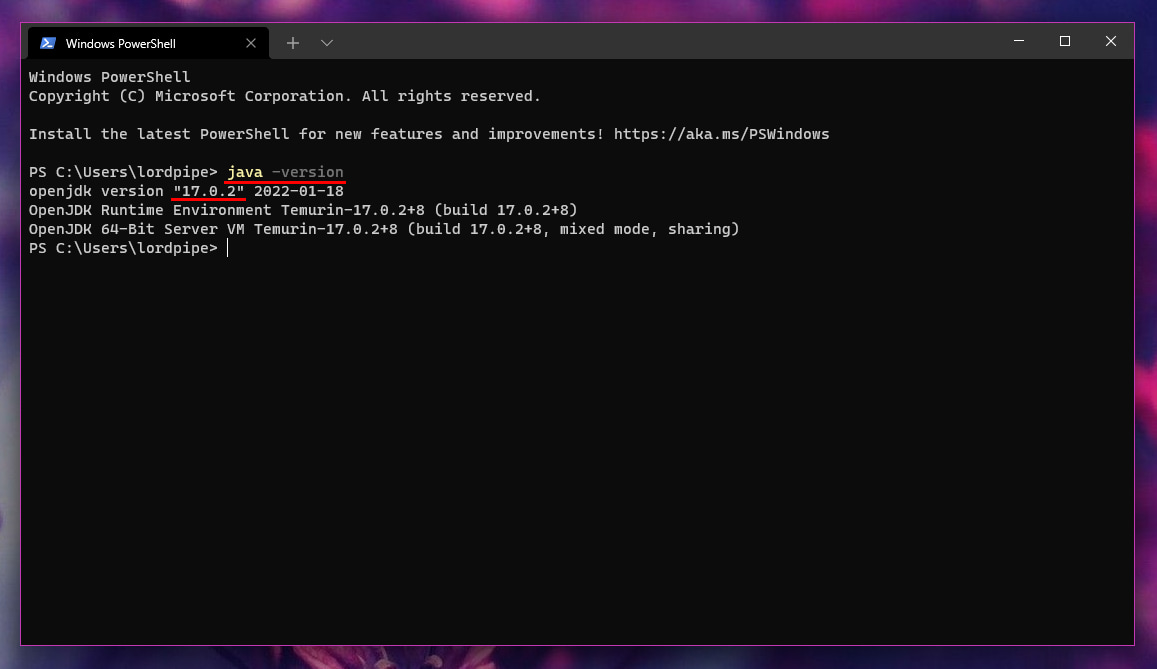
Java 8 will show up as either Java version "1.8. [...] or openjdk version "1.8. [...].
Java 11 will show up as either Java version "11. [...] or openjdk version "11. [...].
Java 17 will show up as either Java version "17. [...] or openjdk version "17. [...].
Java 21 will show up as either Java version "21. [...] or openjdk version "21. [...].
Downloading Java (OpenJDK)
There are many places where you can get OpenJDK, in this tutorial we will be getting them from Adoptium.
Note: If you are using Linux, most package managers include OpenJDK, so you do not need an installer for them. If this is the case, you can skip to installation instructions
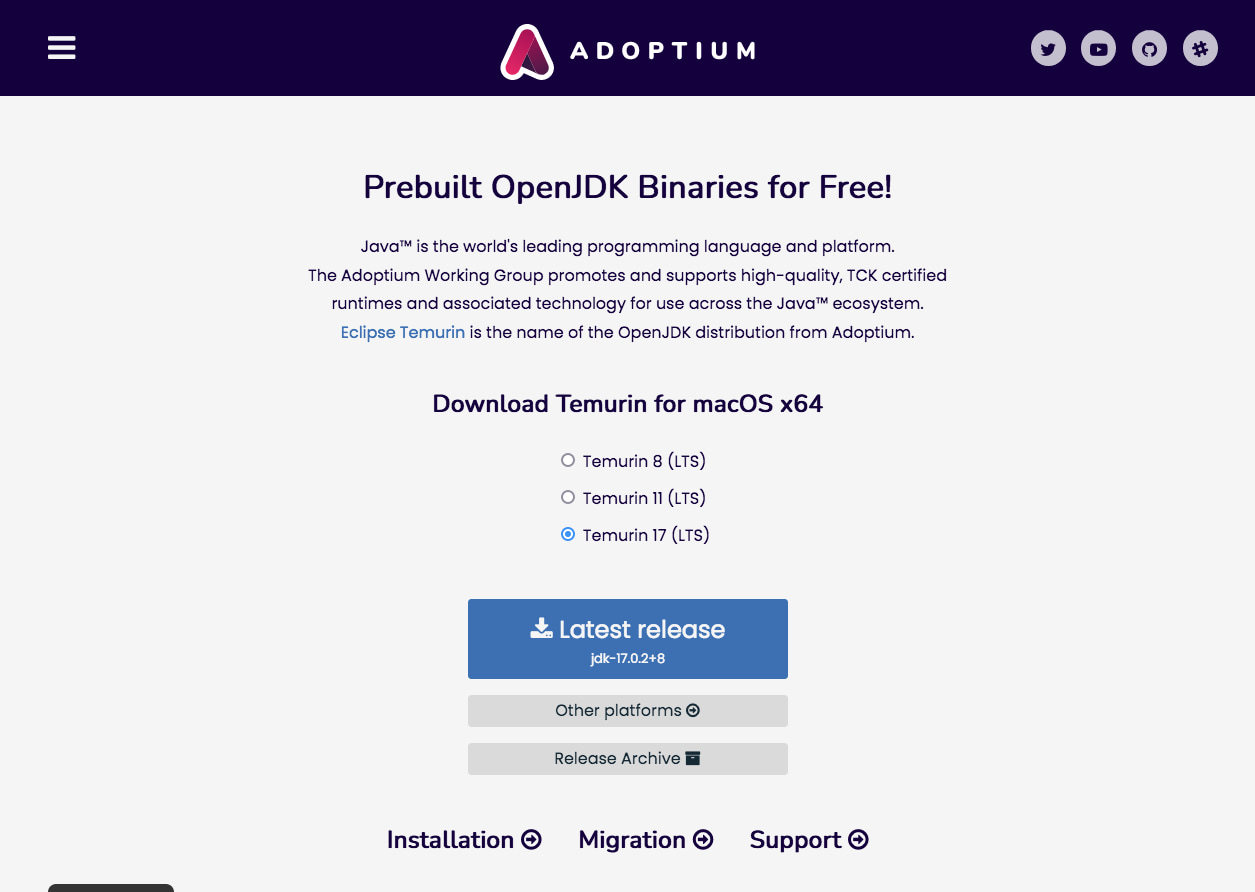
Visit the website for Adoptium Temurin OpenJDK.
Select the version you want from the list and click “Latest release” to start the download. If the version you want is not listed, or if your operating system is incorrectly detected, you may have to click “Other platforms” and select from the list there. Make sure to download the MSI installer for Windows or the PKG installer for macOS.
Continue following the instructions for your platform below.
Run the installer.
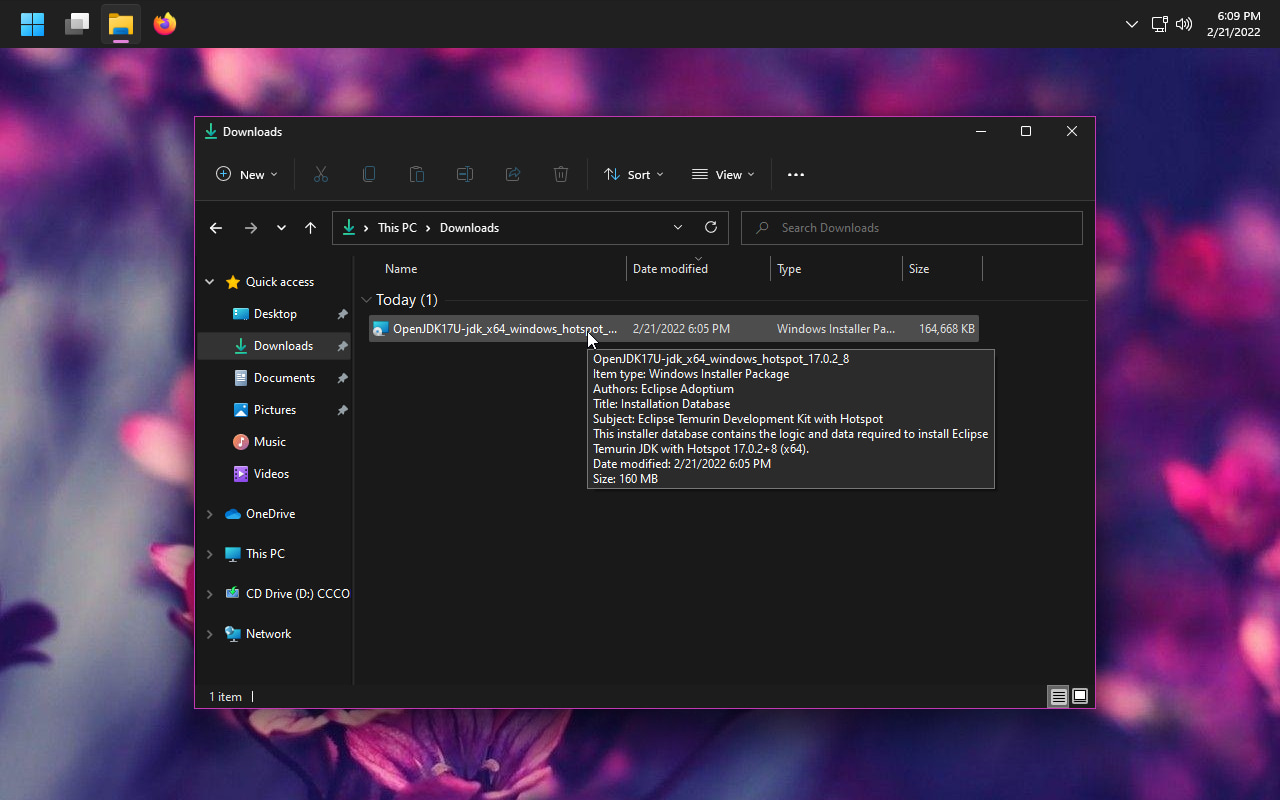
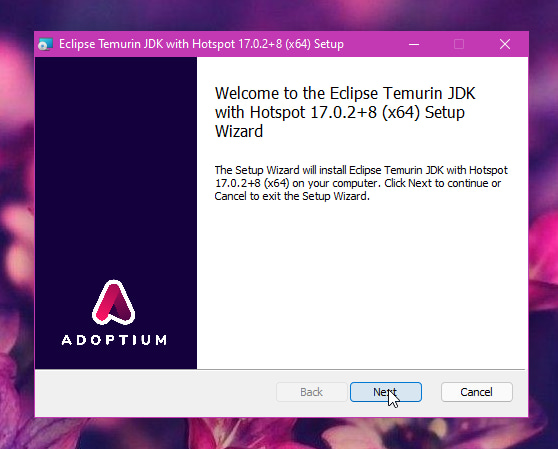
Click Next
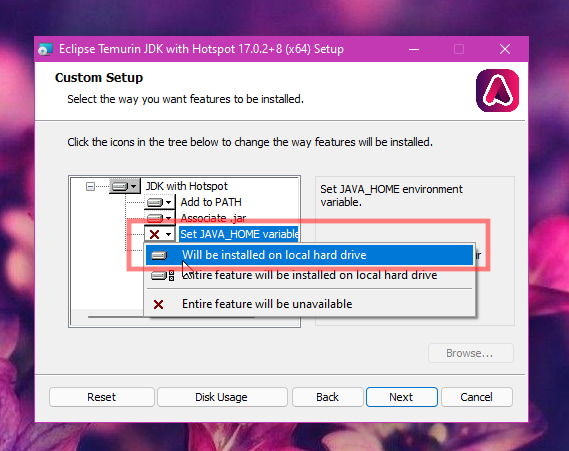
Make sure that both Add to PATH and Set JAVA_HOME variable are set to Will be installed on local hard drive.
This step is especially important if you want to run a server or develop mods!
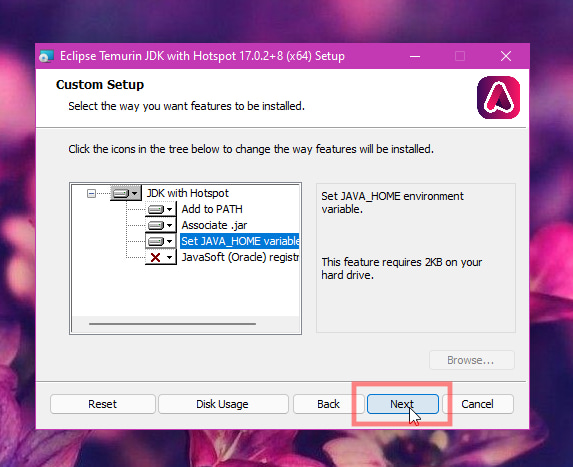
The screen should look like this before continuing. Click Next
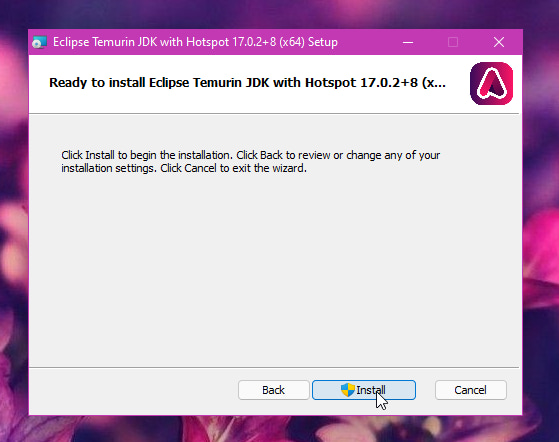
Click Install
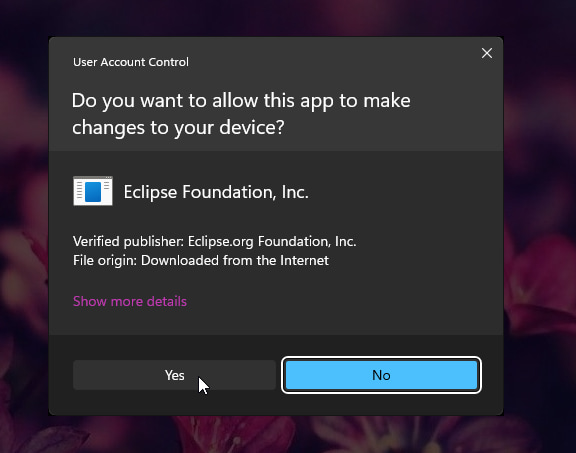
Click Yes
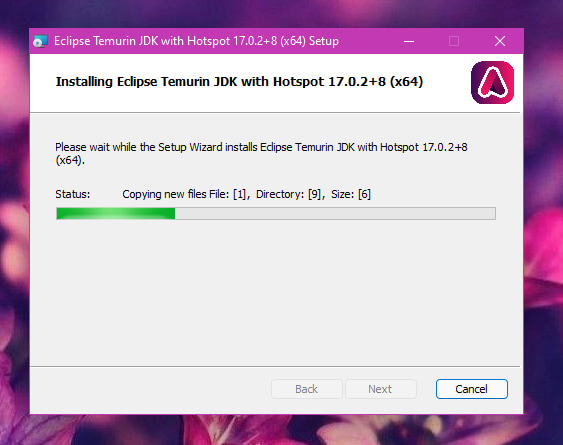
Wait for it to install…
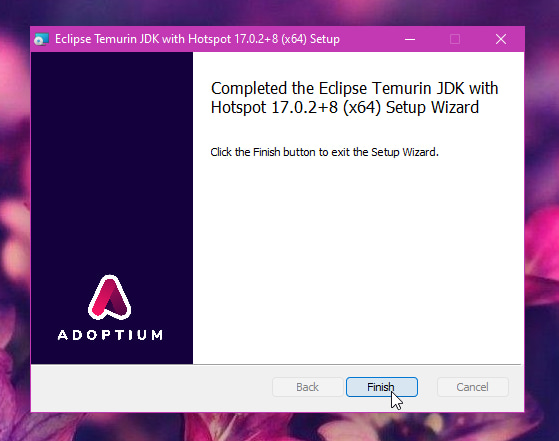
Click Finish to exit the installer.
Run the installer.

Click Continue

Click Continue

Click Continue

Click Install

Enter your Mac password and click Install Software

Wait for it to finish installing…

Click Close to exit the installer.

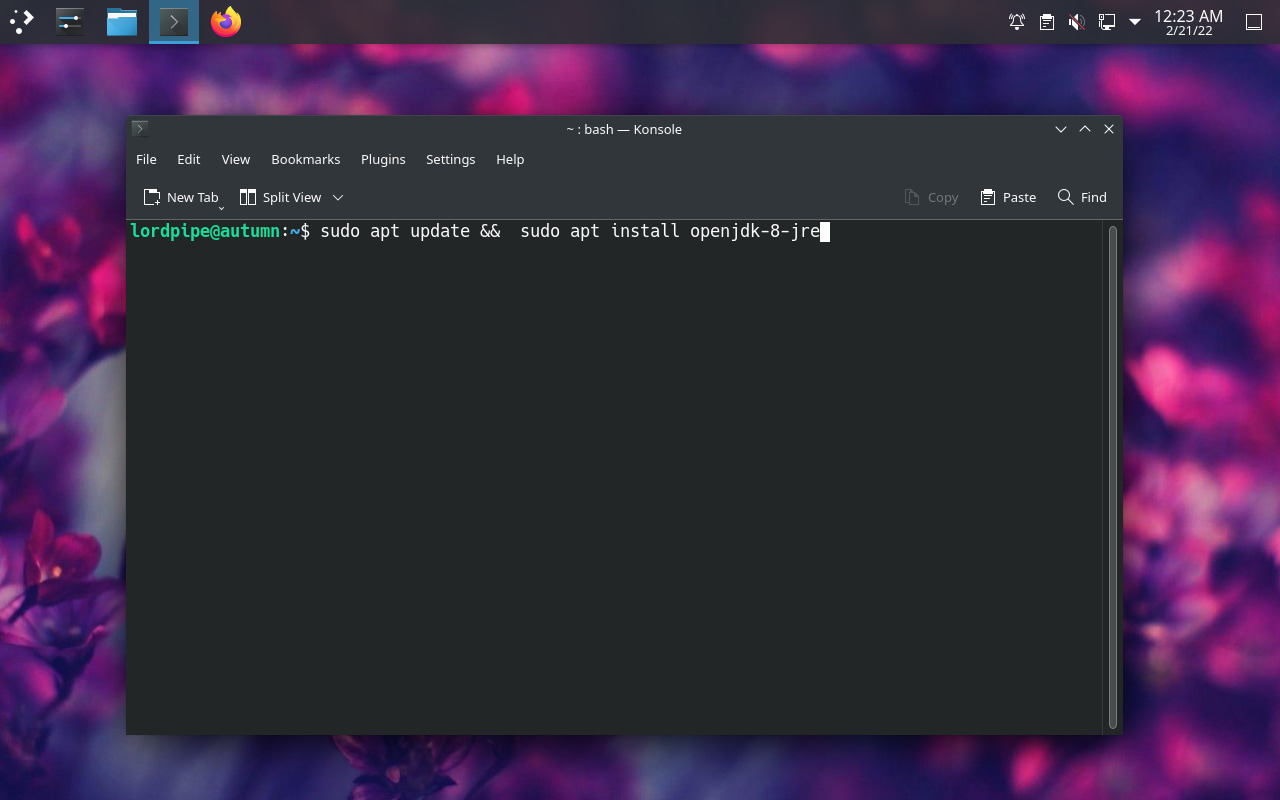
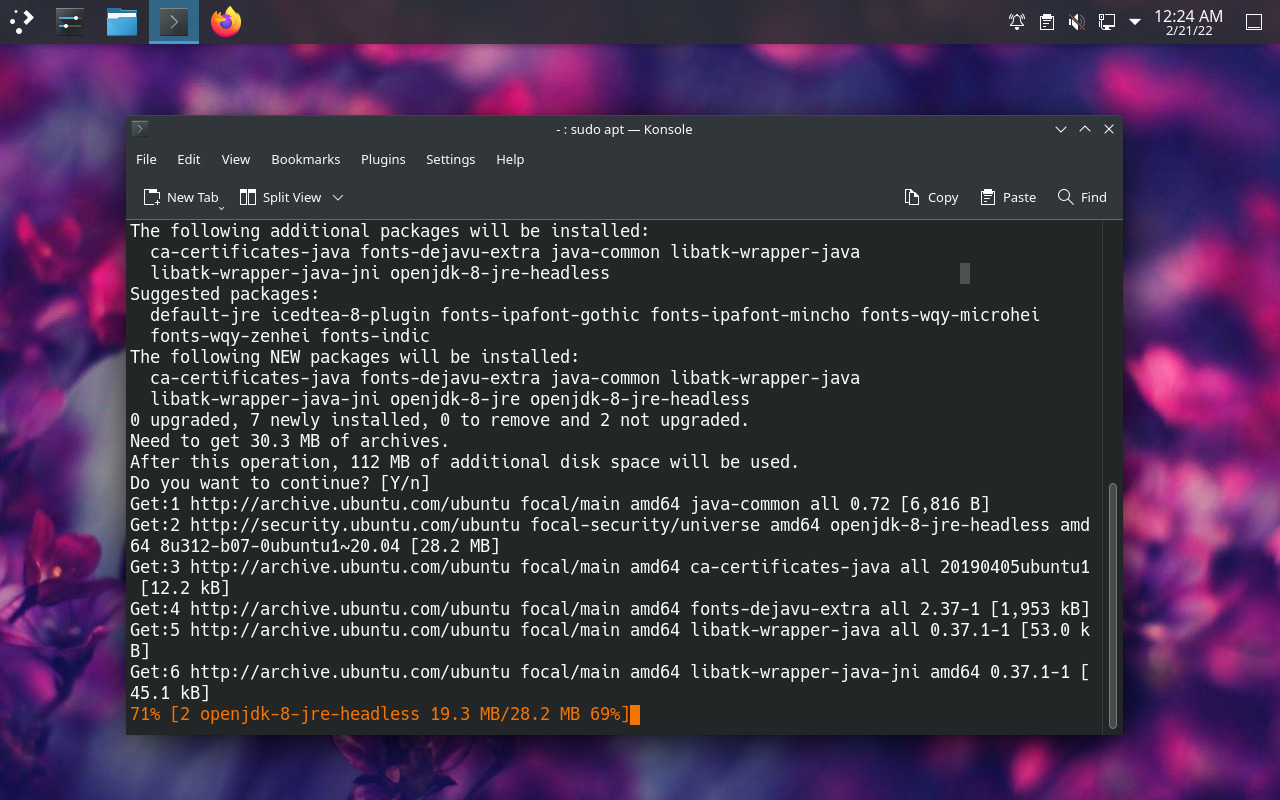
Open a terminal
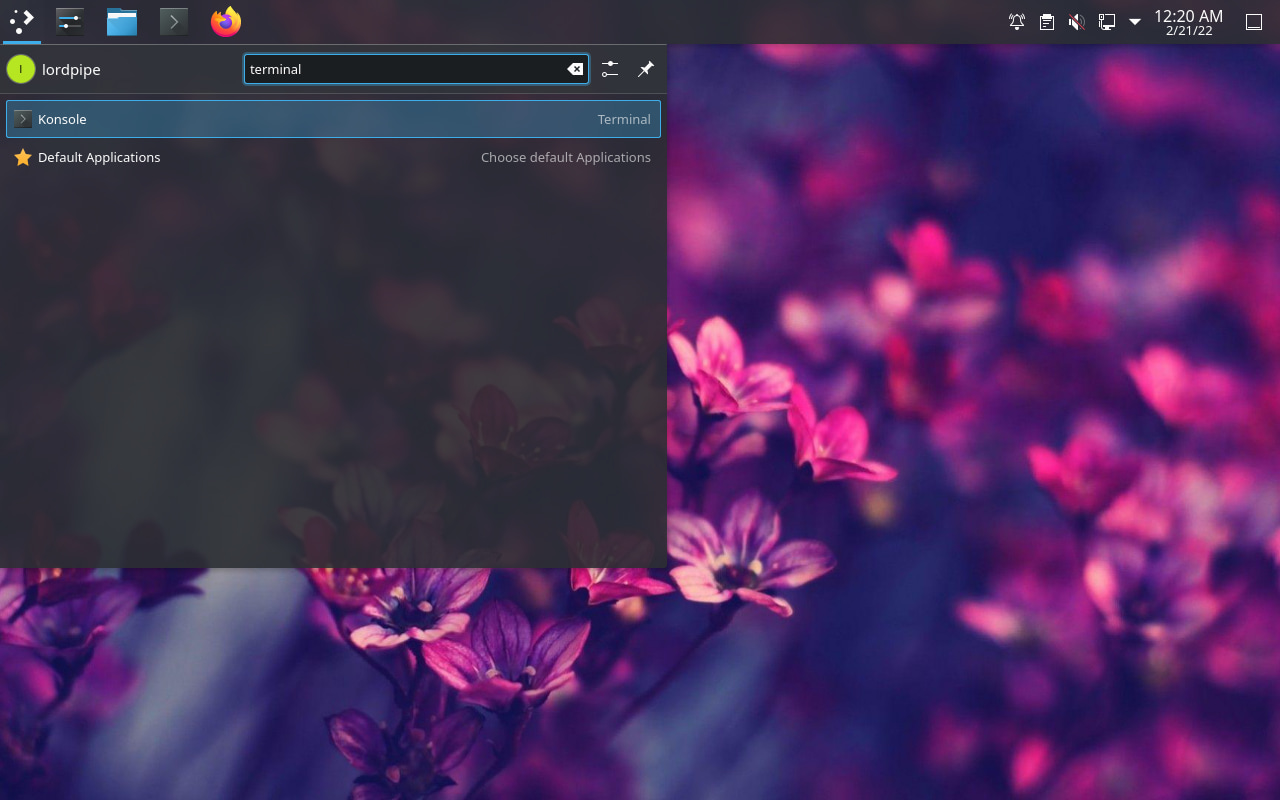
Install Java with your package manager.
Ubuntu/Debian/Pop!_OS/Linux Mint
Use one of these commands to install Java 21, 17, 11, or 8, respectively:
sudo apt install openjdk-21-jdksudo apt install openjdk-17-jdksudo apt install openjdk-11-jdksudo apt install openjdk-8-jdkThere are also PPAs available for Adoptium and other Java distributions.
Fedora
Use one of these commands to install Java 21, 17, 11, or 8, respectively:
sudo dnf install java-21-openjdk.x86_64sudo dnf install java-17-openjdk.x86_64sudo dnf install java-11-openjdk.x86_64sudo dnf install java-1.8.0-openjdk.x86_64Archlinux/EndeavorOS/Manjaro
Use one of these commands to install Java 21, 17, 11, or 8, respectively:
sudo pacman -S jdk21-openjdksudo pacman -S jdk17-openjdksudo pacman -S jdk11-openjdksudo pacman -S jdk8-openjdkThere are also AUR packages available for Adoptium and other Java distributions.
RHEL/CentOS/RockyLinux/Amazon Linux
Use one of these commands to install Java 21, 17, 11, or 8, respectively:
sudo yum install java-21-openjdksudo yum install java-17-openjdksudo yum install java-11-openjdksudo yum install java-1.8.0-openjdkIf your package manager does not include Java/OpenJDK, the Adoptium downloads can be used on all distros.
If you install multiple versions of Java, you may occasionally need to change which one is used by default. To do so:
Ubuntu/Debian/Pop!_OS/Linux Mint
To show available Java versions:
update-java-alternatives --listTo switch to use Java 21 by default:
sudo update-java-alternatives --set java-1.21.0-openjdk-amd64Fedora/RHEL/CentOS/RockyLinux/Amazon Linux
sudo alternatives --config javaFollow the interactive prompt
Archlinux/EndeavorOS/Manjaro
To show available Java versions:
archlinux-java statusTo switch to use Java 21 by default:
sudo archlinux-java set java-21-openjdk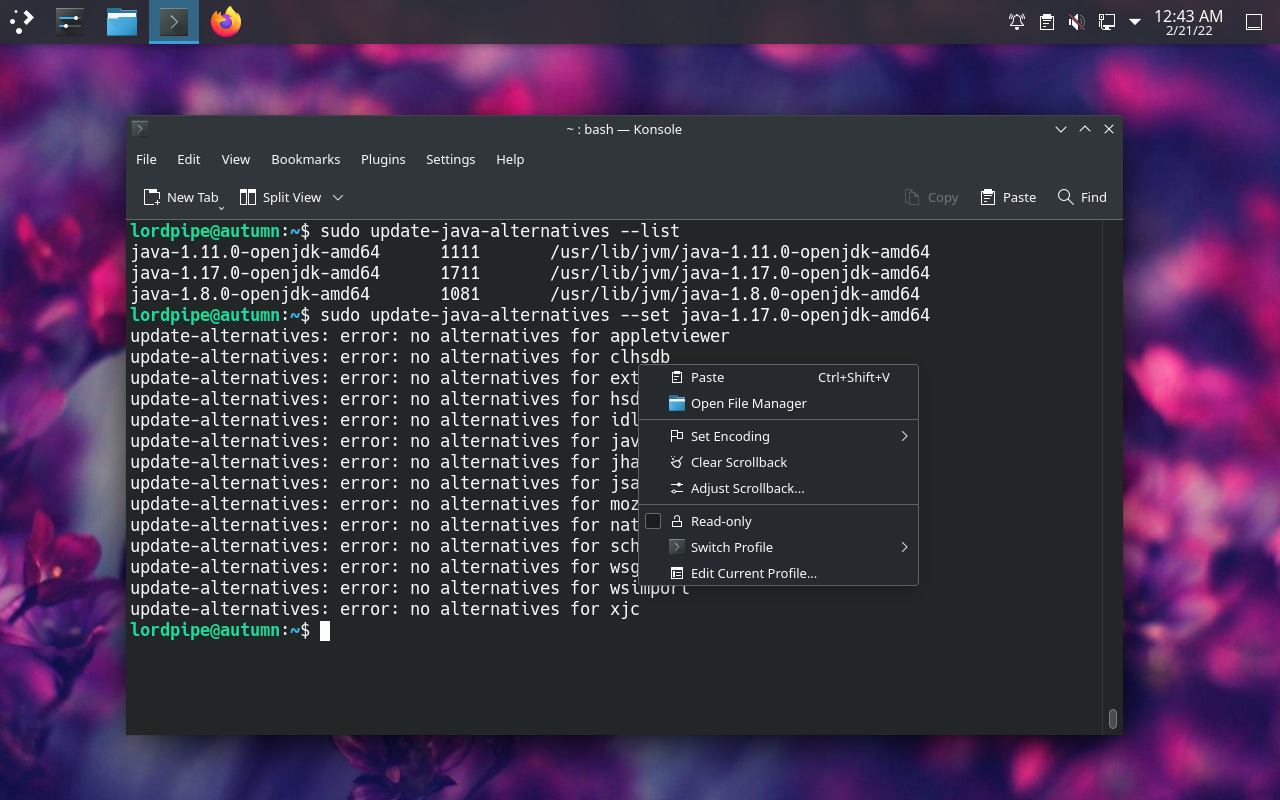
Next steps
Additional info: Verifying if Java is installed properly
Additional info: Changing the default Java version used by the launcher
Appendix: Possible symptoms of incorrect Java version
Below are some of the error messages related to incorrect Java versions.
Error: A JNI error has occurred, please check your installation and try again
Exception in thread "main" java.lang.UnsupportedClassVersionError: net/minecraft/bundler/Main has been compiled by a more recent version of the Java Runtime (class file version 61.0), this version of the Java Runtime only recognizes class file versions up to 55.0

Exception in thread "main" java.lang.UnsupportedClassVersionError: net/minecraft/bundler/Main has been compiled by a more recent version of the Java Runtime (class file version 61.0), this version of the Java Runtime only recognizes class file versions up to 52.0

Exception in thread "main" java.lang.UnsupportedClassVersionError: net/minecraft/bundler/Main has been compiled by a more recent version of the Java Runtime (class file version 60.0), this version of the Java Runtime only recognizes class file versions up to 55.0

Exception in thread "main" java.lang.UnsupportedClassVersionError: net/minecraft/bundler/Main has been compiled by a more recent version of the Java Runtime (class file version 60.0), this version of the Java Runtime only recognizes class file versions up to 52.0
Your Java Runtime is incompatible. Please edit your installation to use the bundled Java Runtime.
Name: Java version mismatch
If you see any of the above messages, you need to update to Java 17.
(When attempting to launch Forge)
java.lang.ClassCastException: class jdk.internal.loader.ClassLoaders$AppClassLoader cannot be cast to class java.net.URLClassLoader (jdk.internal.loader.ClassLoaders$AppClassLoader and java.net.URLClassLoader are in module java.base of loader 'bootstrap')
If you see the above message, you need to downgrade to Java 8, because old Forge does not support Java 11+.
Note: Forge is not officially supported by Minecraft